The Ari Earwarmer (Flower Headband)
The Ari Earwarmer

Materials:
- Yarn: The yarn used in this pattern is a variety of weight 4 yarns, but it can easily be adapted
- 5.5 mm Knitting needles
- (I) crochet hook for edging
- Darning needle
- Buttons
- Sewing needle and thread for attaching the buttons
- Optional: embroidery floss or thin thread for embellishments
Gauge: 12 stitches by 16 rows (4x4 inches)
Stitches and Abbreviations
K- KnitP- Purl
M1L- make one left, this is an increase where you pick up a stitch from the previous row. You pick up the bar between stitches as if you were to knit
M1R- Make one right, pick up the bar in between the two stitches as if you were to purl
K2tog: knit two together
P2tog: purl two together
Pattern:
The Headband
Cast on 12 stitches onto your needle-- I prefer the long tail cast on, but feel free to use any method of your choosingRows 1-4: *Knit 1, Purl 1* repeat this 1x1 ribbing all the way across (12)
Row 5: P1, M1L, *P1 1, K1* repeat until one stitch is left on your needle, M1R, K1 (14)
Rows 6-9: *P1, K1* repeat across (14)
Row 10: K1, M1R, *K1, P1* repeat until last stitch, M1L, P1 (16)
Rows 11-14: *K1, P1* repeat across (16)
Row 15: P1, M1L, *P1, K1* repeat until last stitch, M1R, K1 (18)
Rows 16-19: *P1, K1* repeat across (18)
This pattern continues of an increase at each end and 4 rows of ribbing in between until there are 24 stitches on the hook, but here is the step by step directions if you get lost
Row 20: K1, M1R, *K1, P1* repeat until last stitch, M1L, P1 (20)
Rows 21-24: *K1, P1* repeat across (20)
Row 25: P1, M1L, *P1, K1* repeat until last stitch, M1R, K1 (22)
Row 26-29: *P1, K1* repeat across (22)
Row 30: K1, M1R, *K1 P1* repeat until last stitch M1L, P1 (24)
Row 31: *K1, P1* repeat across (24)
Repeat row 20 until the entire piece measures about 19 inches stretched. This measurement can be adjusted based on the head circumference. I have a 21 inch head head and I started decreasing when the piece almost touched on both sides. There needs to be some overlap for the button
**Im calling the next row '1' but in reality there was a lot of ribbing in between**
Row 1: P2tog, *K1, P1* repeat until there are two stitches left, K2tog (22)
Rows 2-5: *P1, K1* repeat across (22)
Row 6: K2tog *P1, K1* repeat until there are two stitches left, P2tog (20)
Rows 7-10: *K1, P1* repeat across (20)
Row 11: P2tog, *K1, P1* repeat until there are two stitches left, K2tog (18)
You are now making the button hole. number of rows may be adjusted based on the diameter of the buttons. I am using 2cm diameter buttons. You will be working over half of the stitches.
Rows 12-14: *K1, P1* repeat across (9)
Repeat on the other side, I prefer to join on the the side where the button hole would be, I personally find it easier to weave in this way
Row 15: *P1, K1* repeat across (18)
Row 16: K2tog, *P1, K1* repeat until there are two stitches left, P2tog (16)
Rows 17-20: *K1, P1* repeat across (16)
Row 21: P2tog, *K1, P1* repeat until there are two stitches left, K2tog (14)
Rows 22-25: *P1, K1* repeat across (14)
Bind off, I sent cut the string at the end, instead I use the last loop to start my crochet border. Make a single crochet border abound the entire headband, as evenly as possible
weave in ends and I like to tighten up around the ends of the button holes so that it fits perfectly with the buttons chosen.
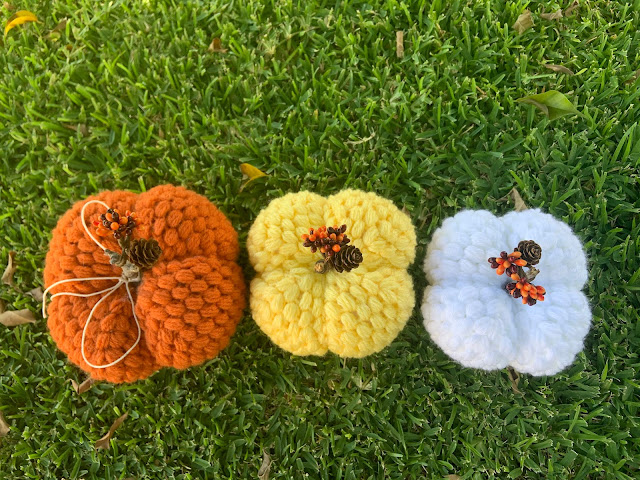
The Flower


Row 1: 6 sc into ring
Row 2: *(ch 2 1dc, 1 treble, 1 dc, ch2, slip stitch) all in the same stitch, ch1, slip stitch into the next stitch* repeat until there are 6 petals, slip stitch to the first Ch2
you are now working behind the flower to make outer flower
Row 3: Ch3, slip stitch into the ch1 spaces from the previous row, repeat until there are 6 ch3
spaces, slip stitch into first chain space
Row 4: *(Ch2, 1 dc, 2 treble, 1 dc, ch2, slip stitch) all into the same stitch, ch 1* repeat until there are 6 petals
Fasten off
If you want to make more flowers, just repeat Row 3 and then add an extra treble in the middle of Row 4-- if this is confusing ask me for further clarification
Now this is the fun/creative part, embellishments
I used some decorative buttons (all of them vintage to me) and some decorative crochet thread, for the inner flower (black) I did a slip stitch to make a cute little lining and then a trim for the outer flower
Assembly:
Sew on buttons on opposite end of button hole. I put on two buttons just incase it gets stretched out or if the person you're making it for has a teeny head. Attach flower with darning needle. I always try on the headband prior to attaching the flower so that I can get the right placement (this isn't that important because you can always adjust the actual headband to get it where you want it.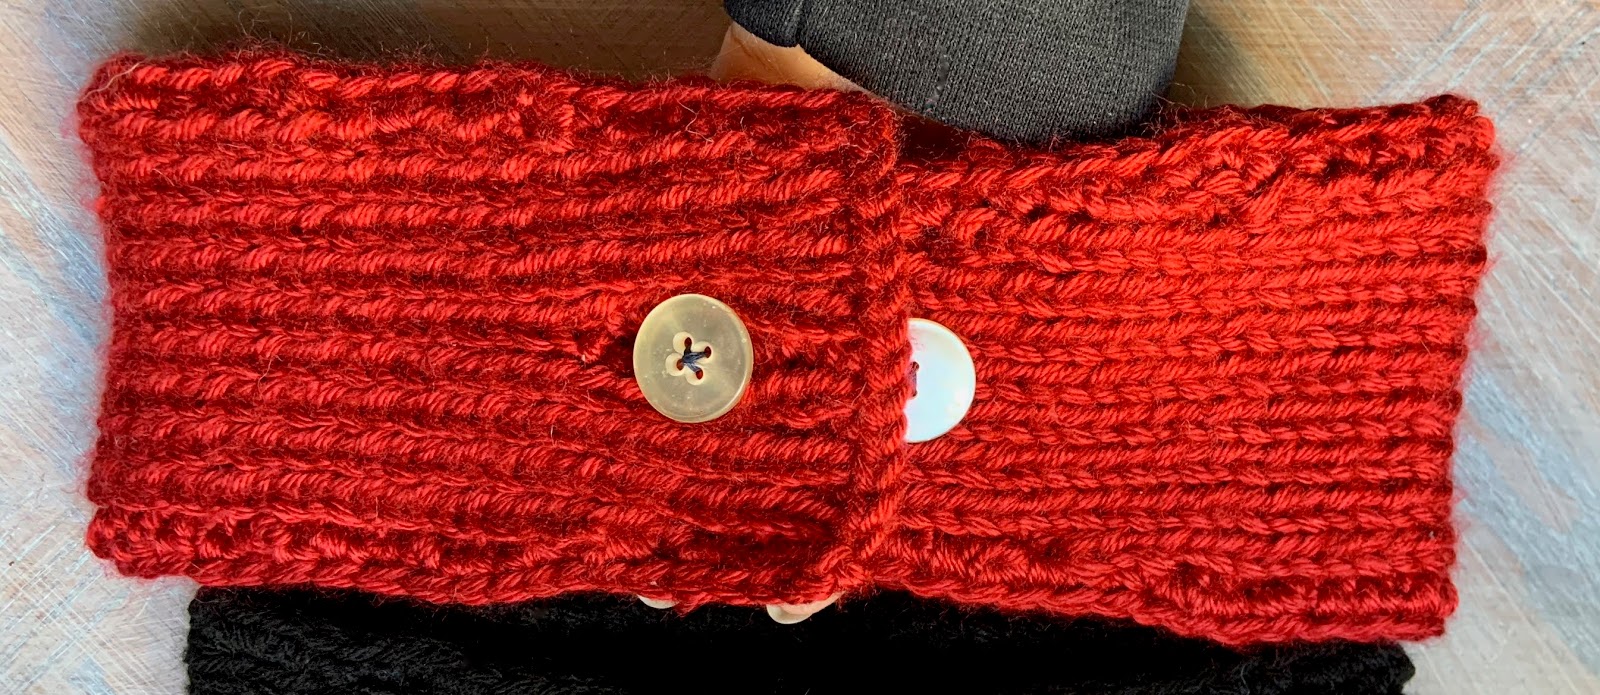


Comments
Post a Comment